While I am sorting through the pictures to share (they will be in a future post, don't worry), here is something I did before we left...

I was leaving on vacation for a week, no big deal right? Sure... except for my garden!
Yes, the garlic, shallots, and peas can fend for themselves I'm not worried. But what about the tender new herbs and tomato seedlings?
I had started to acclimate them to the harsh outside environment, slowly increasing their exposure to beating sun and blustering breezes. They could hold their own against the elements except for one thing: water. They were still in their tiny seedling pots that needed to be watered at least every other day. Unless kept moist, they would shrivel and perish. There was no way they could last a week.
So my garden was going to have to fend for itself, and I would have to do everything I could to prepare it. The solution: Drip Irrigation.
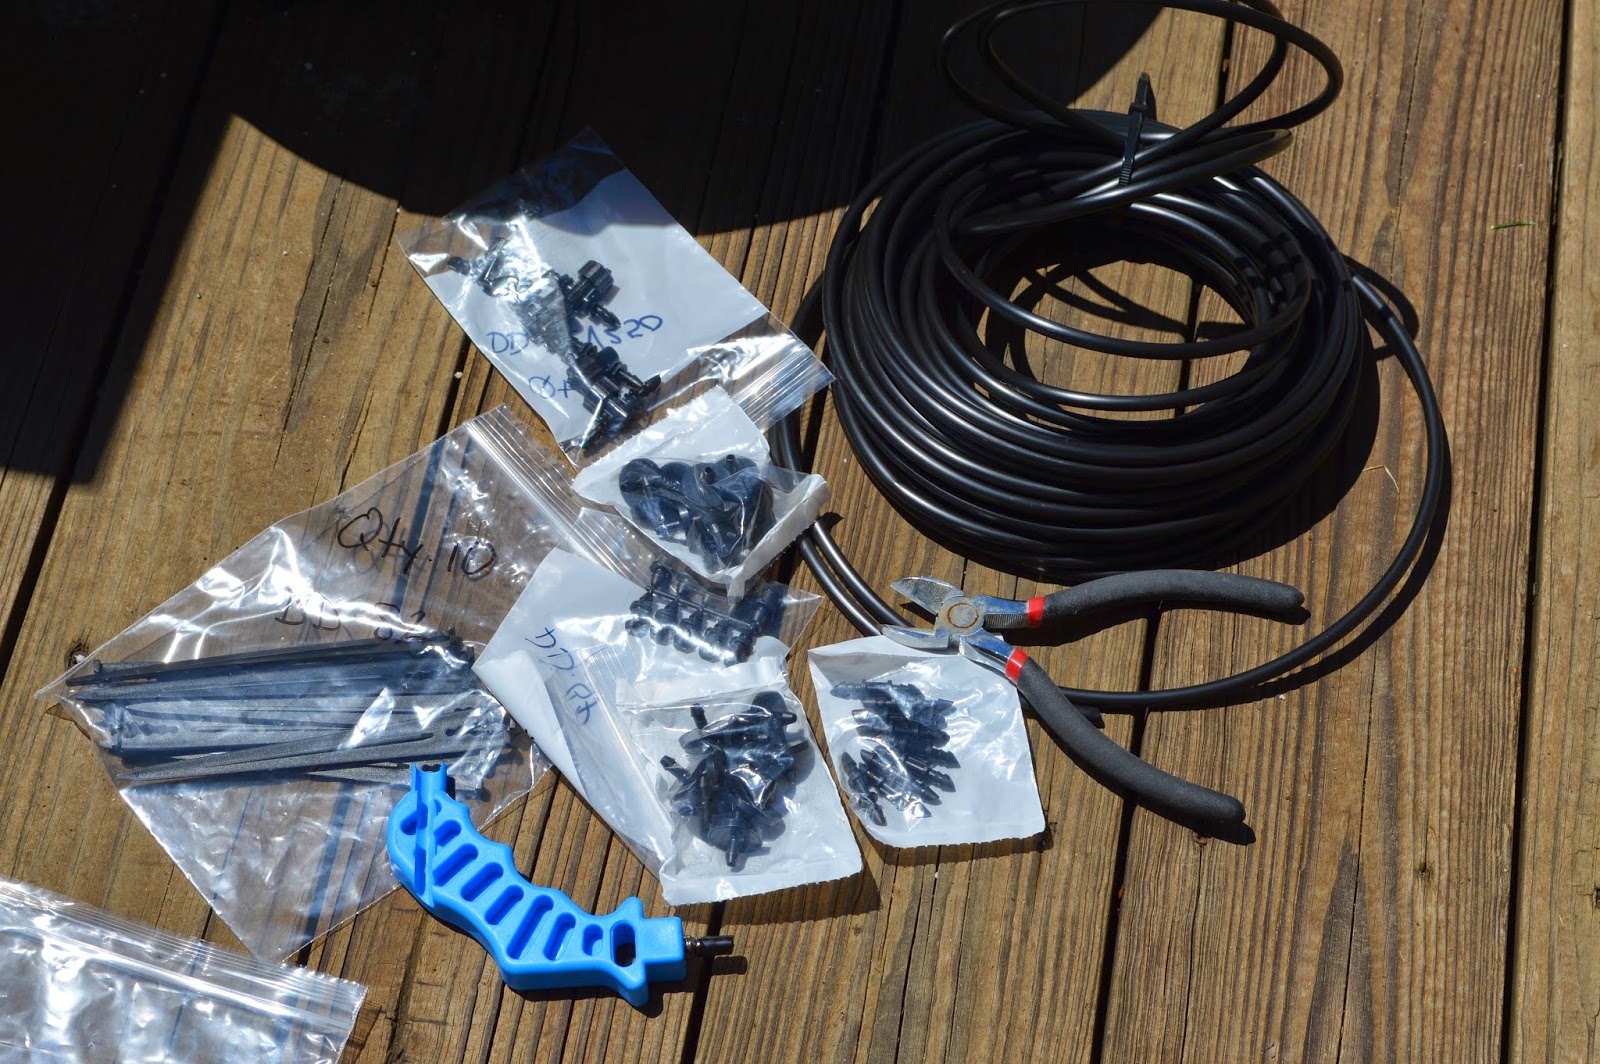
I ordered parts off of Irrigation Direct's website. It can be a little confusing, but with some research I had figured out what I wanted/needed.
 So why didn't I ask a neighbor, we have been there for a
year and a half after all! Well, between the fact that we work full
time, don't have kids yet, and live in the middle of
"be-nice-and-keep-to-yourself-Midwestern-Suburbia," we haven't really
connected with any of our neighbors very closely. Don't get me wrong,
everyone we have met is really nice... we just don't know each other
very well.
So why didn't I ask a neighbor, we have been there for a
year and a half after all! Well, between the fact that we work full
time, don't have kids yet, and live in the middle of
"be-nice-and-keep-to-yourself-Midwestern-Suburbia," we haven't really
connected with any of our neighbors very closely. Don't get me wrong,
everyone we have met is really nice... we just don't know each other
very well. Anyway, normally for a drip irrigation system you would install it to your hose and set up a timer, but we already have an in-ground sprinkler system with drip irrigation for the flower beds. Since that is already on a timer, I just plugged a new line into that system! See it to the right, along with Dear Husband's (DH) feet as he is applying fertilizer.
So all I bought/used was some tubing, a flow regulator, drippers (1/2 gallon per hour), and an end cap.
Just loop the tubing around the pots, trying to position the drippers at even-ish spacing. It's not an exact science, I even estimated the number of drippers for each pot. Check out the results before and after some herbs!


 Here is some of the Thyme I planted, and one of the drippers in action. I am happy to report that even after a long week, all the plants with decent soil survived! Ok, so some of the plants in itsy bitsy tiny containers didn't have enough soil to keep them moist, but the majority survived.
Whew! On with the gardening season!
No comments:
Post a Comment