Monday, August 3, 2015

Stitch Fix #2 - Close, but no Cigar

Have you heard of Stitch Fix?

It's basically an online personal shopping subscription service, but very customize-able.

When you fill out your "profile" you answer very specific questions about your size, measurements, style, preferences, price range, etc.
They send me 5 items, once a month. I can pick any or all of them and send the rest back, just paying for what I want.

What makes this one different? You can include a link to your own Pinterest board with pictures/links of styles you like. Also, you can specify what specific articles of clothes you are looking for (pants, skirts, tops, jackets, etc.) While the site also includes jewelry and handbags, you can opt out of any of those specific items. You can even request special items for specific events (semi-formals, etc.)


So why am I trying it? Honestly, I hate clothes shopping.
I get overwhelmed by the options, frustrated by the sizes, and annoyed by different fits. I hate the whole process.
Because of this, my current work wardrobe is very old and limited, so I specified that I am looking for business casual attire.

I was still figuring out the process, and I forgot to document it, but I ended up getting three items. A lacy tank, a striped jersey jacket, and a pair of earrings.

This month, all five items were spot on with style, but the fit was just off.

(Just ignore my hair... it was Saturday and I wasn't leaving the house. Glamorous, I know!)

First up: a pair of jeans and a flowing print blouse.
The jeans fit well around the waist and length, bonus points for no "intentional" rips (stupid trend) and they were boot-cut, not skinny jeans (which is a VERY stupid trend.)
The problem? They were a little tight around the top of my thick thighs.

The top isn't something I would normally pick out, but it was pretty cute. The color was flattering, and the back was blue lace, so I needed to wear a tank top under it.
The problem? While cute at first, it made me look rather boxy. I looked like I had no shape.


Next up: a navy and white striped dress. Cute! The fit and length was good, I liked the shape and flow
The problem? Thankfully you can't really see it in the photo, but the dress was a very thin material, causing it to be too see-through. I'm sure it would be fine if you had one of those full body-suit underwear things... but I don't.

Also shown: multi-tier silver disc necklace. I liked this one as well and was considering purchasing it, but it didn't quite lay right on me. I am rather busty which tends to "funnel" wide necklaces to the center. Not quite right.


I thought I was going to be out of luck, but there was one more item in the box: a gray flowy cardigan. It drapes straight down in front, and has a cute little ruffle in the back.

Ok, in the front facing picture the horizontal stripes make me look pregnant, when I'm not! But can we take a moment to appreciate how good my back end looks in the other picture?

Hey, no one's perfect.


Sunday, July 26, 2015

Stupid, No-Good, Very Bad Wallpaper!

FRIENDS DON'T LET FRIENDS PUT UP WALLPAPER!

You hear me? Not even for an accent wall. Just say no! NO!

Ironic how these things work... you may remember how easy-peasy it was for me to peel the paper itself off the walls. It was a breeze! I thought I had it so easy... little did I know what I was in for.

When we left our wallpaper-removal project last, not a scrap of paper was left on the walls but a sheen of glue was left, covering the entire surface. It was so thick, it was tacky to the touch.

I knew it was going to be such a big job that I.... procrastinated. Aaaand procrastinated. In all fairness I was trying to finish off the master bedroom and bath. So I made excuses and procrastinated.

Thankfully, this is where my mom lends a HUGE helping hand. Whenever I need help with a big project, she is always more than willing to help and this time she even brought backup; my dad. He was so helpful at getting the high spots.


Using a special wallpaper stripping gel (see right), we sprayed, we waited, we scraped, we soaked, we scrubbed, we scraped more.... the result? Nothing. Failed.

Yes, we did take off some glue (I think) but the majority is still left on the wall. Hours of tough work, and it still can't be painted yet.

I know the paint would just bubble and peel if I painted over the glue, so I was thinking maybe I could prime it with a tough bonding coat. Mom checked in with the experts at the painting store and they said NO WAY. Do Not Paint yet.


So they recommended a different type of product: Piranha Wallpaper & Paste Remover Concentrate then scrubbed with a Scotch Brite type pad.

I've only tested it on a small area, and it still takes a LOT of elbow grease, but DANG if didn't work!

It took off at least 95% of the glue. There is still barely a little bit of "shine" (glue) in the tiny indentations from the paint roller texture, but that is hardly anything. I am going to try using a bristled brush in addition to the scrubber, and see if that helps.


The one and only fun thing of this entire process? The previous owners signed their names on the wall before they (had a lapse in judgement and) put up wallpaper.

So evidently, before the Paterson's, our house was owned by the DiBrito's: Al, Jeri, Gina, Angela, and Nicole along with Bandit and Vinnie (who I would assume were pets.)

But there are so many better ways to leave a time capsule. My favorite is the light switch plate time capsule.

Just remember, FRIENDS DON'T LET FRIENDS PUT UP WALLPAPER!

Thursday, July 16, 2015

The Big Reveal: Master Bed/Bath

It seems like it has taken forever, but we FINALLY finished the Master Bedroom and Bathroom!

No more outdated sponge-painted walls, no more 90's window treatments, no more shiny brass.

Let me remind you what it used to look like...
I had taken down the ugly curtains, and the against-code light fixture before this picture was taken, but you get the idea. Complete with popcorn ceilings, sponge painted walls, AND wallpaper boarder. Lovely.

The light fixture which I promptly took down was against code because it was track lighting. It is against code to have this within 8 feet of a tub/shower, because you can reach up and touch the track part which is "live" and it would electrocute you.


Our bedroom was more of the same. More sponge paint, more of the same curtains, thankfully no wallpaper border.
I forgot to take a good picture before the ceiling guys started to remove the popcorn, so here are some post-popcorn pics:


 There used to be a brass ceiling fan too, but that broke and we had replaced it earlier.


The curtains had both stripes AND squares with swags on either side and a ruffled valance. Pure early 90's!
Here they are, heaped in our basement waiting to be donated.


So what did we do? Just about everything we could do...
- We had the broken ceiling fan replaced
- We had the popcorn ceilings scraped and painted
- We installed a new closet system (see right)
- Removed old vanity lights and installed new ones
- Painted (lots)
- Installed a new bathroom fan
- Installed a new ceiling light over the tub
- Made curtain rods


- Sewed curtains
- Bought new bed linens
- New nightstands and lamps
- Recovered a vanity bench
- Replaced light switches and outlets (from almond to white)
- Cleaned/waxed the vanity cabinets
- Replaced the cabinet hardware
- New rug and bathroom accessories
- Actual art on the walls (a first for me!)
- Built floating shelves
... the list seems to go on and on!

But the result? I certainly love it and really enjoy a space tailored to our style.

Check it out!


As promised, here are the floating shelves all finished!

Above the tub, and again in the toilet alcove. As long as I was making the shelves, I also made towel/robe hooks and stained the wood the same color.


The bathroom flows right into the bedroom which we tried to make just as tranquil.


The large painting we commissioned from SisX. She did a fantastic job, and was paid well in beer, pizza, and art supplies! We had such a great weekend visiting, and ended up with the perfect piece of art.


On the opposite, facing wall needed some art too so Dear Husband (DH) suggested some of our wedding photos.
The scale of the wall is so large, that the pictures are VERY large... (20"x28")


It still seems a little narcissistic to have such a large picture of myself, but they are such beautiful photos thanks to our wedding photographer and friend, Karin.


Sunday, June 21, 2015

DIY Floating Shelves

Dear Husband (DH) can attest that this project took far too long. It wasn't particularly difficult, it just has lots and lots of steps.

I'm found inspiration from a couple different pictures on Pinterest. Here are floating shelves above a toilet, and I mostly followed their tutorial with a few exceptions.
Here are very similar shelves above the end of a tub, which gave me confidence and an idea of how ours could look.

 I decided on two shelves above the toilet, and three above the tub. First measure your space and determine the dimensions of your shelves.

To the right are all my chicken-scratches figuring out how much wood of what size I needed.

The "E" shaped frame that screws into the wall is made from 1x3's (which are actually 0.75" x 2.5").

The top and bottom boards are 1x8's (actually 0.75" x 7.25")

Then the front piece is a 1x6 (0.75" x 5.5" in true dimensions.)

If you are interested in why the dimensions are different, you can read about it here.

 The lighting was terrible in the basement where I was cutting and staining the wood so I didn't get a good picture, but I do want to share a tip...

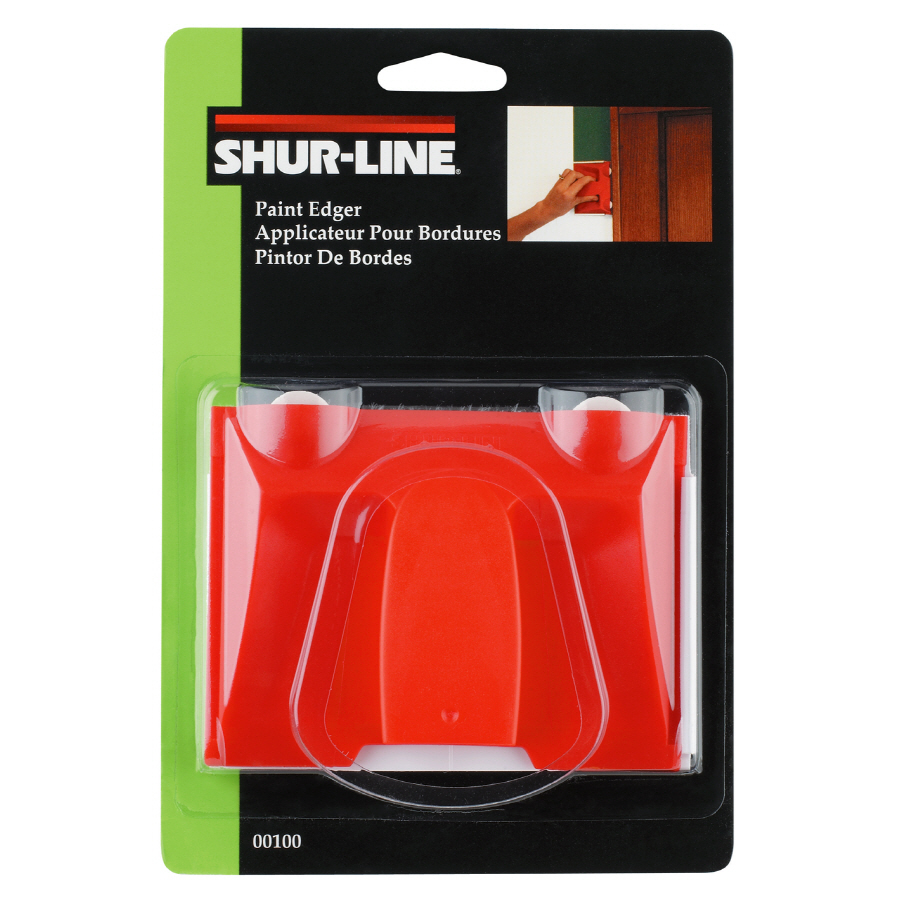
If you ever need to stain and seal wood, use a paint edger! 

These have short, short bristles about a 1/4" long on disposable, replaceable pads. They don't leave any brush strokes like a paint brush, or shred apart like foam brushes.

So I stained and sealed the wood, but only the sides/edges that would be seen.

I stained it a "Cherry" wood color. It is similar to the "Golden Oak" colored cabinets, but it has more red in it.

I marked where I wanted the shelves on the wall and with the help of a level and stud-finder, I screwed the "E" shaped frame into the studs with four long screws.


One shelf at at a time, I glued on the top and bottom boards as I only have four clamps large enough.
I put wood glue on both surfaces, clamp them together, and put a few finishing nails is the bottom plank since gravity is working against it.

I keep it clamped for at least an hour, then I add the front piece (gluing both surfaces again) clamp it on, and add just a couple nails in the corners.

After that, it is just cleanup and it's done! But I'm waiting to show you the finished product until the next post where I reveal the finished master bedroom and bath!


I had a small add-on project too.
As long as I had all the supplies out for staining and sealing the wood for the shelves, I fixed the guest bathroom cabinet.

See that big hole on the right side of the cabinet end? A previous owner had a phone jack installed in the bathroom. Why? We may never know.

Anyway, the cabinet side was fake laminate wood, so there was no patching it.
Instead, I bought a new real-wood, unfinished end piece they sell for general cabinets. I cut it out to size, stained and sealed it. Using wood glue and clamps, I attached it to the side and now it's good as new!

Ok, maybe the color is a tiny bit off, but not enough to be noticeable.


As usual, Eva is getting herself into all sorts of fun trouble! A couple days ago she caught her second rabbit. It was a teenager this time and as much as I hate it, I understand instinct, natural selection, and the need for population control. At least it was a quick dispatch without much suffering.
I didn't take a picture of that, but I did take a couple pictures from the next day when Eva plowed through a burr bush and was covered in stickers, poor baby.

After at least a half hour of combing them out, of course she didn't learn her lesson, and was back in the bush later that day! What a goober!


Tuesday, June 2, 2015

Wreath Refresh

Up until a week ago, I still had up our Easter decoration on the front door.

In all fairness it did say "Welcome"... but also eluded to painted eggs and the Easter bunny. Definitely time for a change. 

First, I gathered supplies:
- Burlap - I cut 4" strips from leftover fabric, but you can easily find burlap ribbon
- Wire wreath form
- Faux flowers of choice - I'm usually not a fan, but used sparingly they can be effective
- Letter of choice - I found one with metal and wood go give an rustic/industrial flair
- Wire - thin gauge that is easily bent
- Wire cutters

Attaching the burlap to the form with the wire, I started wrapping the fabric around the wreath, making sure to overlap the fabric. At the end, I attached it to the frame again with the wire.

It was still missing something so I took some strands of burlap, and tying them end to end made a long string and wrapped it the opposite way of the fabric to add a bit more visual interest.  

Then I added the flowers. Less is more with fake flowers! I cut and bent the stems, securing them to the back of the wreath with the wire. This took the most patience of the project.
Clearly Eva did not have enough patience, and ended up sacking out on the burlap... always the helpful assistant!

Attach the letter also with the wire, and make a loop on the back of the wreath so you can hang it. 

If you look close, the wreath hangs crooked because the letter made the left side too heavy. But I won't tell if you don't, and not THAT many people would notice!


I also made strawberry rhubarb jam again this year. I made a triple batch thanks to some home grown rhubarb from a family member! It tastes just as good as I remembered, but I didn't let it boil long enough because it is rather thin... like a strawberry rhubarb sauce or syrup. Ah well, it is only my second time making it, and I will try to remember for next year. 


One last thing... I have NEVER taken a picture of my dinner to post online, but this one is different. I grew this spinach all by myself! It is my first time growing spinach, and we have already gotten a few salads out of it! Some of the leaves are huge, but they aren't bitter yet. I just planted the lettuce seeds, so we will see if those are just as successful!