
Here are very similar shelves above the end of a tub, which gave me confidence and an idea of how ours could look.
I decided on two shelves above the toilet, and three above the tub. First measure your space and determine the dimensions of your shelves.
To the right are all my chicken-scratches figuring out how much wood of what size I needed.
The "E" shaped frame that screws into the wall is made from 1x3's (which are actually 0.75" x 2.5").
The top and bottom boards are 1x8's (actually 0.75" x 7.25")
Then the front piece is a 1x6 (0.75" x 5.5" in true dimensions.)
If you are interested in why the dimensions are different, you can read about it here.
The lighting was terrible in the basement where I was cutting and staining the wood so I didn't get a good picture, but I do want to share a tip...
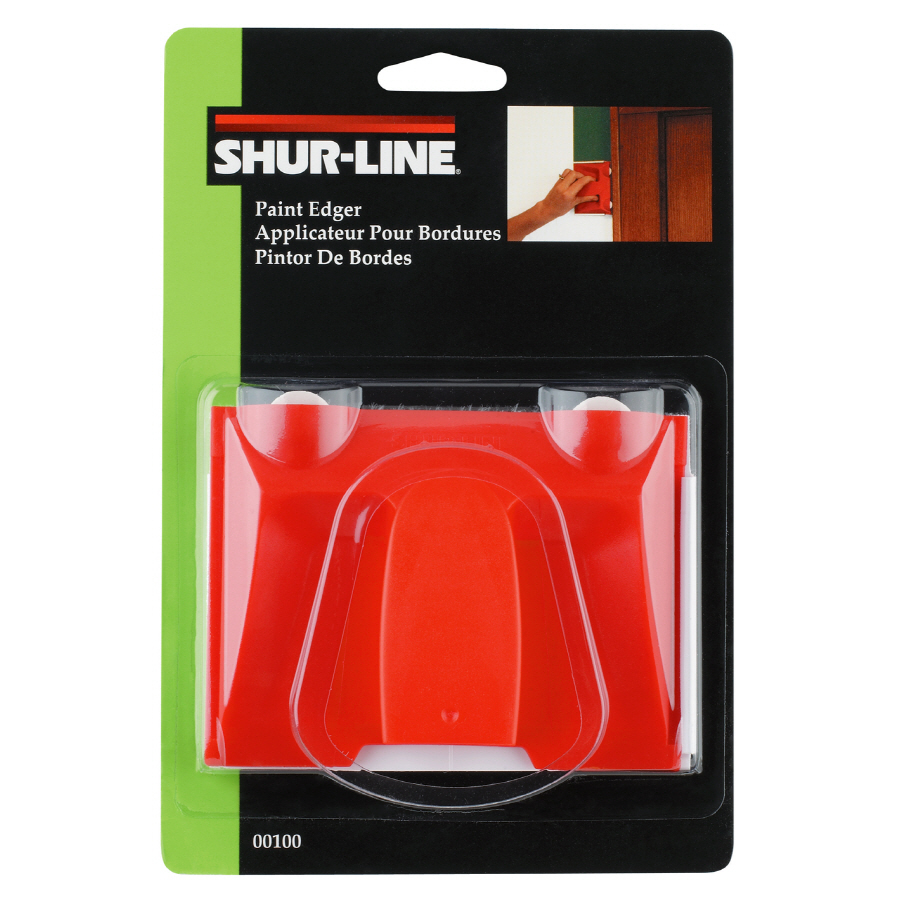 If you ever need to stain and seal wood, use a paint edger!
 These have short, short bristles about a 1/4" long on disposable, replaceable pads. They don't leave any brush strokes like a paint brush, or shred apart like foam brushes.
 So I stained and sealed the wood, but only the sides/edges that would be seen.
I stained it a "Cherry" wood color. It is similar to the "Golden Oak" colored cabinets, but it has more red in it.
I marked where I wanted the shelves on the wall and with the help of a level and stud-finder, I screwed the "E" shaped frame into the studs with four long screws.


 One shelf at at a time, I glued on the top and bottom boards as I only have four clamps large enough.
I put wood glue on both surfaces, clamp them together, and put a few finishing nails is the bottom plank since gravity is working against it.
I keep it clamped for at least an hour, then I add the front piece (gluing both surfaces again) clamp it on, and add just a couple nails in the corners.
After that, it is just cleanup and it's done! But I'm waiting to show you the finished product until the next post where I reveal the finished master bedroom and bath!

I had a small add-on project too.
As long as I had all the supplies out for staining and sealing the wood for the shelves, I fixed the guest bathroom cabinet.
See that big hole on the right side of the cabinet end? A previous owner had a phone jack installed in the bathroom. Why? We may never know.
Anyway, the cabinet side was fake laminate wood, so there was no patching it.
 Instead, I bought a new real-wood, unfinished end piece they sell for general cabinets. I cut it out to size, stained and sealed it. Using wood glue and clamps, I attached it to the side and now it's good as new!
Ok, maybe the color is a tiny bit off, but not enough to be noticeable.
 As usual, Eva is getting herself into all sorts of fun trouble! A couple days ago she caught her second rabbit. It was a teenager this time and as much as I hate it, I understand instinct, natural selection, and the need for population control. At least it was a quick dispatch without much suffering.
I didn't take a picture of that, but I did take a couple pictures from the next day when Eva plowed through a burr bush and was covered in stickers, poor baby.
After at least a half hour of combing them out, of course she didn't learn her lesson, and was back in the bush later that day! What a goober!

No comments:
Post a Comment