
The first company we hired I wasn't terribly impressed with, but they did say we could convert our crumbly, broken fake logs to a real wood burning fireplace if we just switch out the gas burner.

He also said "If your husband is handy, he can install the new burner himself." I informed him that I was actually the handy one in these types of projects. *sigh* Gender stereotypes: still happening everyday.
 The existing gas line was a pan of sorts (see above), that had large flames come out the pipe and extending through the fake logs. The new one has more focused flames that you only light to start the real logs aflame, then turn off once the wood is burning on it's own.
Disclaimer: Do NOT do this on your own if you are not completely comfortable and thoroughly understand what you are doing.
I did my research and took all appropriate precautions. Thankfully Mom was there to help me because the toughest part was trying to get the old pan out!
 The existing pipe actually had the wrong type of sealing tape (white is used for water lines) so I bought some yellow which is specifically for gas lines. This is wrapped on any threaded connections.
 The actual assembly went pretty smooth after that.
 We made sure to check all the gas seals with soapy water. When turning on the gas, if there was a leak it would have created bubbles with the soapy water. Then we would have had to shut the gas off right away and tighten the connection.
The instructions say to make sure the flames are pointing down and toward the back. This prevents ash from falling in the holes, or the gas blowing hot ash out toward you.


She may be great at supporting DIY projects, but she also did great a few weekends ago when we competed in another Rally Obedience trial.
We participated in two trials, and she took first place in both! (It helps that she was the only dog in her class, so as long as we qualified, we got first.)
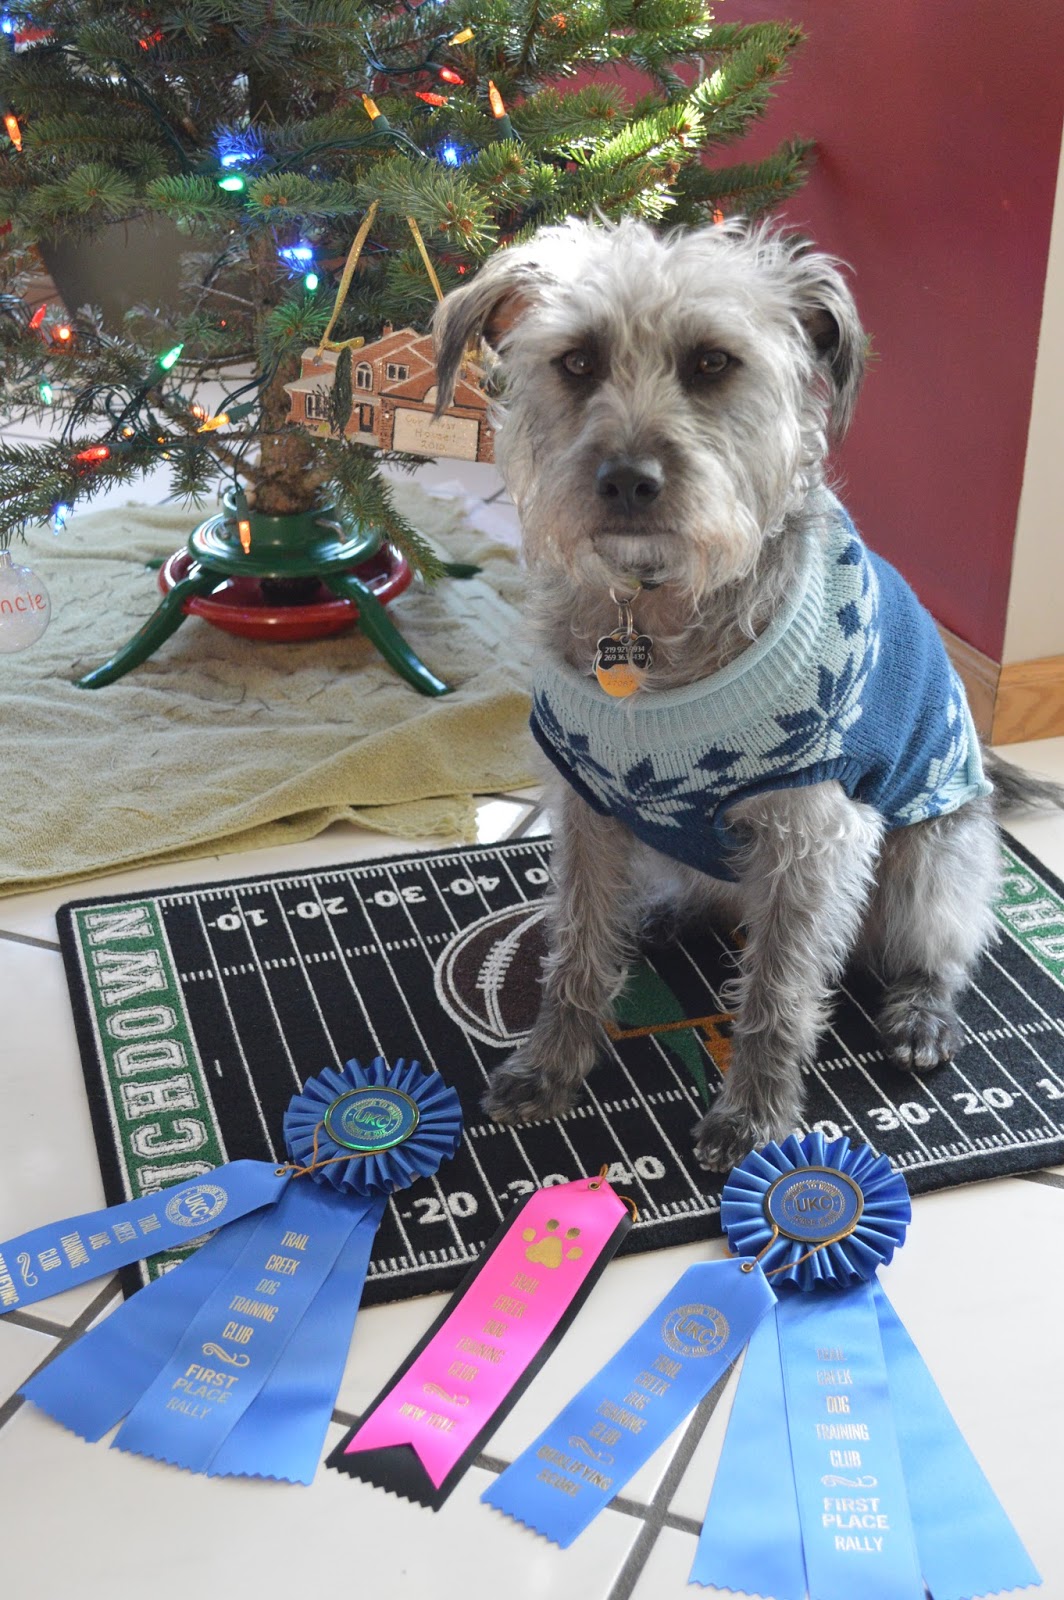 She also moved up a class level, which is the middle ribbon. We moved from level 1 (beginner on-leash) to level 2 (intermediate off-leash.)
She wasn't too thrilled to have to sit and "stay" when there were interesting ribbons to smell and inspect.
