Pin Board Map
As an avid traveler, my dad has always liked maps. I have heard him mention a few times that he would like a wall map that he could put pins in showing the places where he has traveled. The DIY'er in me asked "I could make that, right?" Sure, why not. For him it would need to be a world map rather than just the US, but you could always have a US map showing the states/cities traveled to. I found a great one online that had an "antique" look yet had all the up-to-date countries on it, here on this site. Sure, I could just tape it to his office wall with scotch tape, but I was looking to make it a little more classy. A lot of his office furniture has a Cherry Wood finish, so I really wanted it framed.
 One thing: the map was 3ft x 4ft. Frames that size run around $60-$75... not gonna happen. So I needed figure out how to pull all the parts together myself.
1. The Backing: I got some masonite for the backing... the same type of stuff that peg boards are made out of, just without the holes. The nice guys at the local home improvement store cut it to the perfect size for me, so I didn't even need to mess with the scary circular saw! Part one down.
2. Backing part 2: Next problem? Pins won't stick in pegboard material because it is too dense. Hmmm what do pins usually stick into?...cork. I know they make those sheets of cork you can roll out or squares you can stick to the wall, but those are way out of the price range for such a large area. It took me a couple days to think of it, but I finally came up with the solution of foam-core board! It is basically two posters with a thin layer of foam between to make it rigid, all less than a quarter inch thick. Perfect!
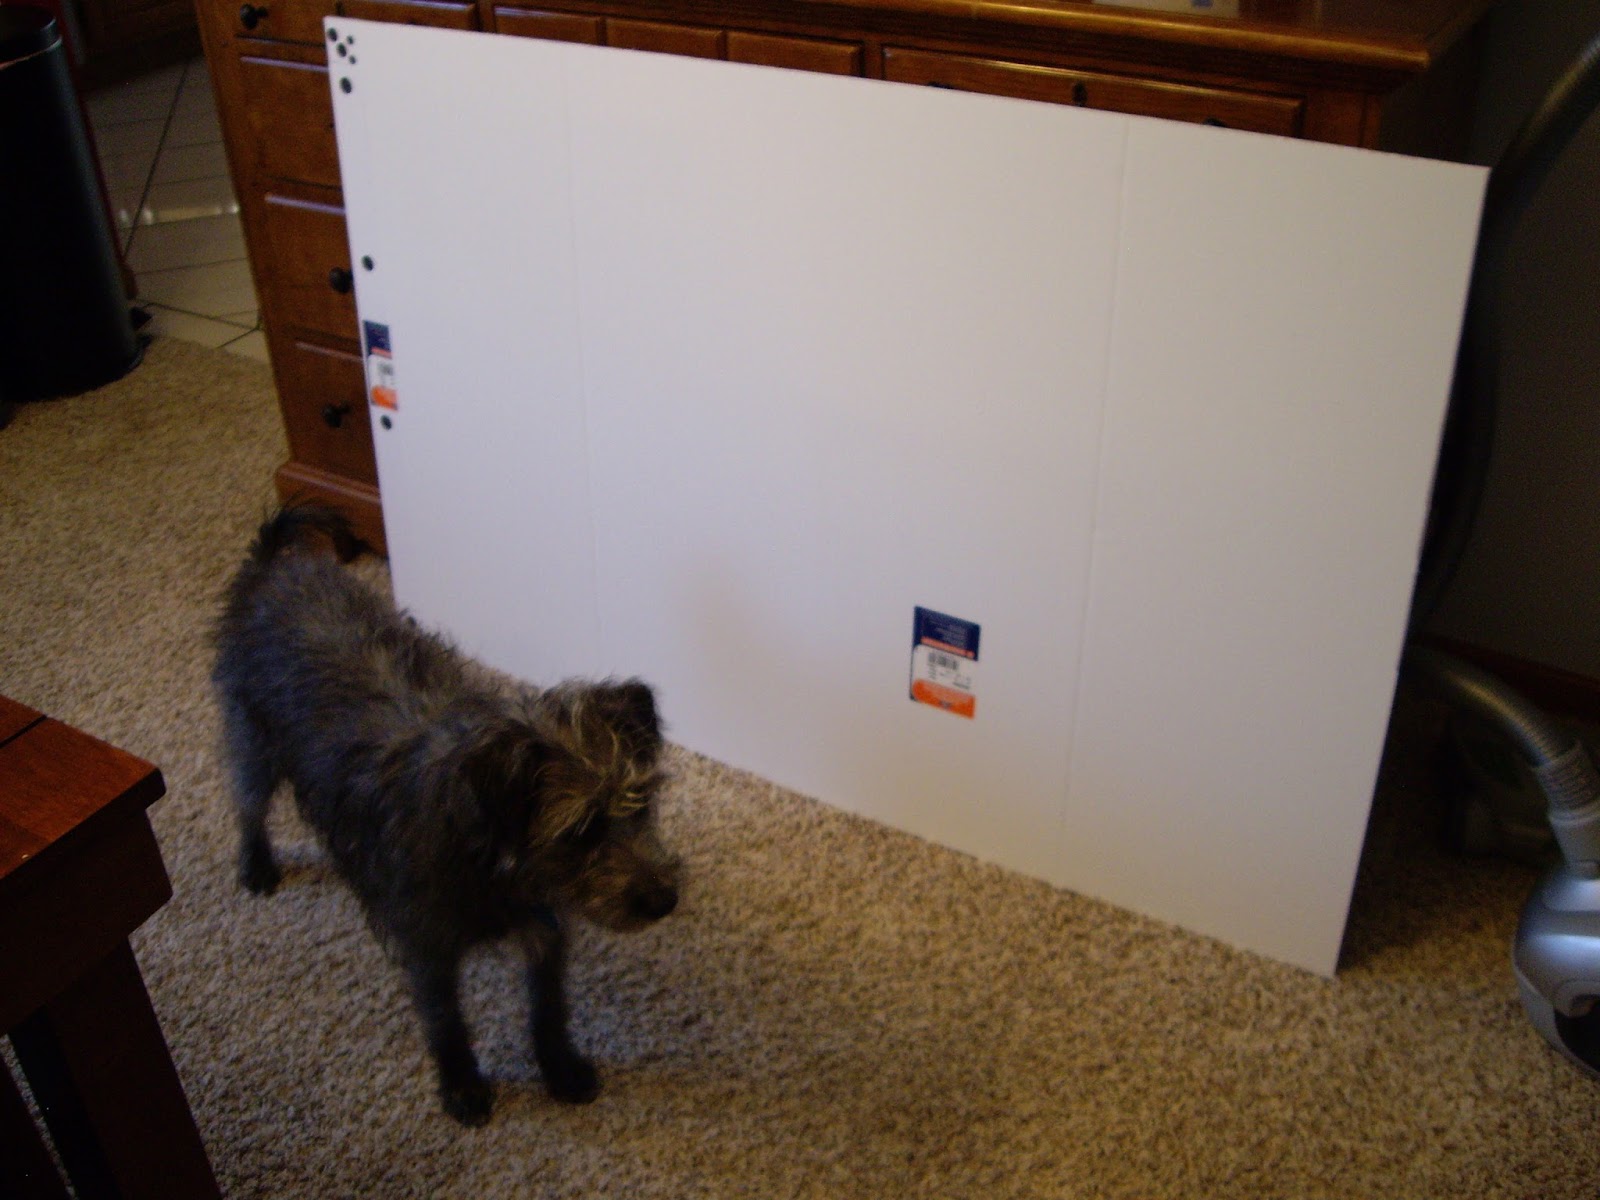
3. Glue map to foamboard: I ended up using a tri-fold board (stereotypically used for middle school science project reports). It was tall enough, but not quite long enough, so I had to get another board and piece it together. Here is Eva to the right, modeling with it. I used rubber cement since it is non-acidic and wouldn't make the map soggy with glue. It ended up having a couple of slight wrinkles in it, but we will call those stylistic. It goes with the old-time map look.
 4. Glue foamboard to backing: I used this elmer's spray adhesive which ended up working fantastically! If you spray and stick together while still wet (15 sec or so) it will be permanant. Alternatively, if you wait until it dries tacky you can remove and reposition it... or so the bottle says, I didn't actually try it.
 5. Make frame: I just used flat molding that you would normally place on the wall for a baseboard or a chair rail. Combine that with a miter box, (since I don't have enough room in the garage for a radial arm saw) and you can cut 45 degree angles for a frame. Repeat mantra: measure twice, cut once. With the four pieces in hand, I used these mini right-angle brackets to solidify the frame. Because they are so close to the edge of the molding, I had to (very carefully) drill mini pilot holes so I didn't split the wood. Add some paintable caulk to fill the corners, sand, stain ("Cherry" color), seal (with spray polycrylic) and viola! An empty frame.
  6. Attach frame to map/backing: Please note I had to measure everything and do a lot of math to make sure everything lined up perfectly. I wanted the frame to be glued to the backing but the map had to be evenly centered and have the same amount of space on both the sides and top. In the end it lined up perfect and I used liquid nails (and a caulking gun) to attach the frame. Eva can be seen to the right performing quality assurance.
 7. Attach hanger: I picked up these awesome cleats that distribute heavy weight but are still pretty flat so whatever you are hanging doesn't stick out from the wall. The only tricky part is that you have to make sure you mount both parts perfectly level. No crooked maps here!
 8. Hang and admire: So this is technically a really, really, really early Christmas (and Father's day and Birthday) present. But I didn't want to wait, and I had room in my car to transport it. So I also brought everything I needed to hang it because I knew it would still be sitting on the floor, leaning against the wall if I didn't. Mom helped match the stain color and decided to do a second coat to make it darker... she was so right. Doesn't it look perfect?!


Finally! Another indoor project complete!
No comments:
Post a Comment