Saturday, January 31, 2015

Patching Holes and Installing Lights

Holes in walls just happen.
Maybe a little roughhousing was going on and somebody's shoulder just happend to go through the wall (ah, childhood memories...) Anything from a nail-sized hole to a baseball-sized hole can be patched up pretty easily. 

First of all, the size of the hole matters.
Can you stick your finger through it?
- If no, then you can just fill it with spackle. (Here's an easy, short video if you haven't done it before.) You may need multiple coats to fully fill a hole. Just apply in a thin layer, wait an hour, sand lightly, and re-apply.

- If it is bigger than your finger BUT smaller than a quarter, then you will just need a little bit of this mesh tape (see right). It is sticky on one side, so just tape over the hole and apply the spackle like you would before. Remember: thin, multiple layers work best. Try to "feather" it out, getting a thinner layer at the edges so there is a smooth transition where the spackling starts.

- If your hole is bigger than a quarter AND smaller than a baseball, you will need a "drywall patch." There are a couple of different types, but the best by far is the thin metal plate with the same sticky mesh tape over it. All you have to do is make sure your wall is clean, trim to desired size, stick it on, and spackle like you would before. (It does take 4-5 thin coats, but the results are impressive.)

- Is it larger than  baseball? You can still repair a larger hole yourself, it just takes quite a bit more time and technique. I haven't tried this particular method, but you can check it out here. 

Once covered with spackle, always sand smooth so there is a seamless transition to the wall.

Alright, want to see all this in action? Check it out:

Remember those uuuuugly light fixtures above the master sink? Yeah, those exposed round light bulb ones that belong above a stage makeup mirror. I had a vision of our perfect bath, and it did NOT include those lights.

So out they came! The problem? The wires were coming out of big holes near the center of the mirror, and I needed them farther to the sides for each of my two fixtures.


 So I made holes in the right spots, and fished the wires though to where I needed them.
This left holes. BIG holes.


Bring out the big wall patches! Here's what I used:


I cleaned the walls then applied the patches. See the metal screens below?


 Then spackle a thin coat over it.


Let dry, sand and spackle again.


Four or five layers later... It is nice and smooth!


 Then we prime over it before painting:


Then we finally paint...


Then install the new lights.


What a difference it makes. I think we updated the bathroom by 20 years!

Before:                                                     After!


Friday, January 23, 2015

Master Bed/Bath Repaint

Our house was built in 1990.

I feel like that statement says so much more than it needs to:
- Popcorn ceilings: check (now removed!)
- Shiny brass fixtures: check (replacing/refinishing with satin nickel)
- Golden oak trim and cabinets: check (I can't bring myself to paint good wood. I just can't! So we will refresh and protect it.)
- Wallpaper borders: check (in process of removing)
- Sponge painted walls: check (this is what we are fixing now!)

Ah yes, the sponge painted wall. Ever so revolutionary and trendy in the 1990's.
Thankfully, our house only had a few (glaring) accent walls with sponge texture in the master bedroom and bathroom.

The bathroom originally had the sponged walls AND wallpaper border on top of that, (see right) oh baby!

These sponged walls are something special... I think there are 4 different colors of paint, one of which is a metallic-silver. At least I think it was supposed to be metallic. Instead it just makes the walls look kind of dirty. Ick.


Here's what we did to prepare:
- I removed the wallpaper border with the same method I used to remove the textured wallpaper.
- I finally installed a new (up-to-code) light fixture. (When we first moved in, the inspector informed us that the track-lighting above the tub was an electrocution hazard!)
- I removed all the towel bars. I'm leaning toward replacing these with hooks instead.
- I patched all the holes and dents I could find, but it is really tough to see them on the sponged walls.
- Dear Husband (DH) did a great job sanding all those textured walls down. Whew, what a job!
- Then we washed the walls (TSP is your friend.)
- Finished up patching
- One final wipe-down of all the walls, baseboards and vacuuming the floors. (No dust in our paint!)

Just remember... the preparation is 80% of a painting job.

I don't know how we got so lucky, but Mom volunteered to come up and help paint She is an expert with a paint roller.
I had gotten nearly all the paint and material ahead of time, so we were able to paint both the bedroom and bathroom over the weekend. I picked two different colors for the walls which doubles the drying and clean-up time. Fortunately, I thought ahead and bought disposable paint tray liners, which cut clean-up significantly.

Quality paint and tools are one of the most important things when painting. Here are some favorites of mine:
- Purdy brand paint brushes and rollers. Completely worth the expense!
- Disposable paint tray liners. Yes, they do add to the landfill, but they save so much water that you would use to clean the tray itself.
- The 5-in-1 tool. I am actually pretty new to this tool, but it is so handy! It was the only thing that could pry the paint roller off the handle.

The main wall color we painted was a beautiful warm gray (Repose Gray by Sherwin Williams). This color strip is what I decided would be the foundation colors for our house.  You can see the gray on the right wall in the pictures below.
(Don't mind my fashionable paint clothes.)


The accent wall color (DH) picked out was Leisure Blue by Sherwin Williams. It is tough to get an accurate picture of the color, but the one below is actually pretty close. I think it is a rich soothing blue.
Believe it or not, this is the same color, but because of different lighting, it looks a bit brighter than it actually is.


What a job! Painting was the first step in redecorating our bedroom, and there is a lot more to come. One wall didn't get painted yet because we are replacing the light fixtures above the bathroom sinks. But that is a topic for the next post.


Tuesday, January 13, 2015

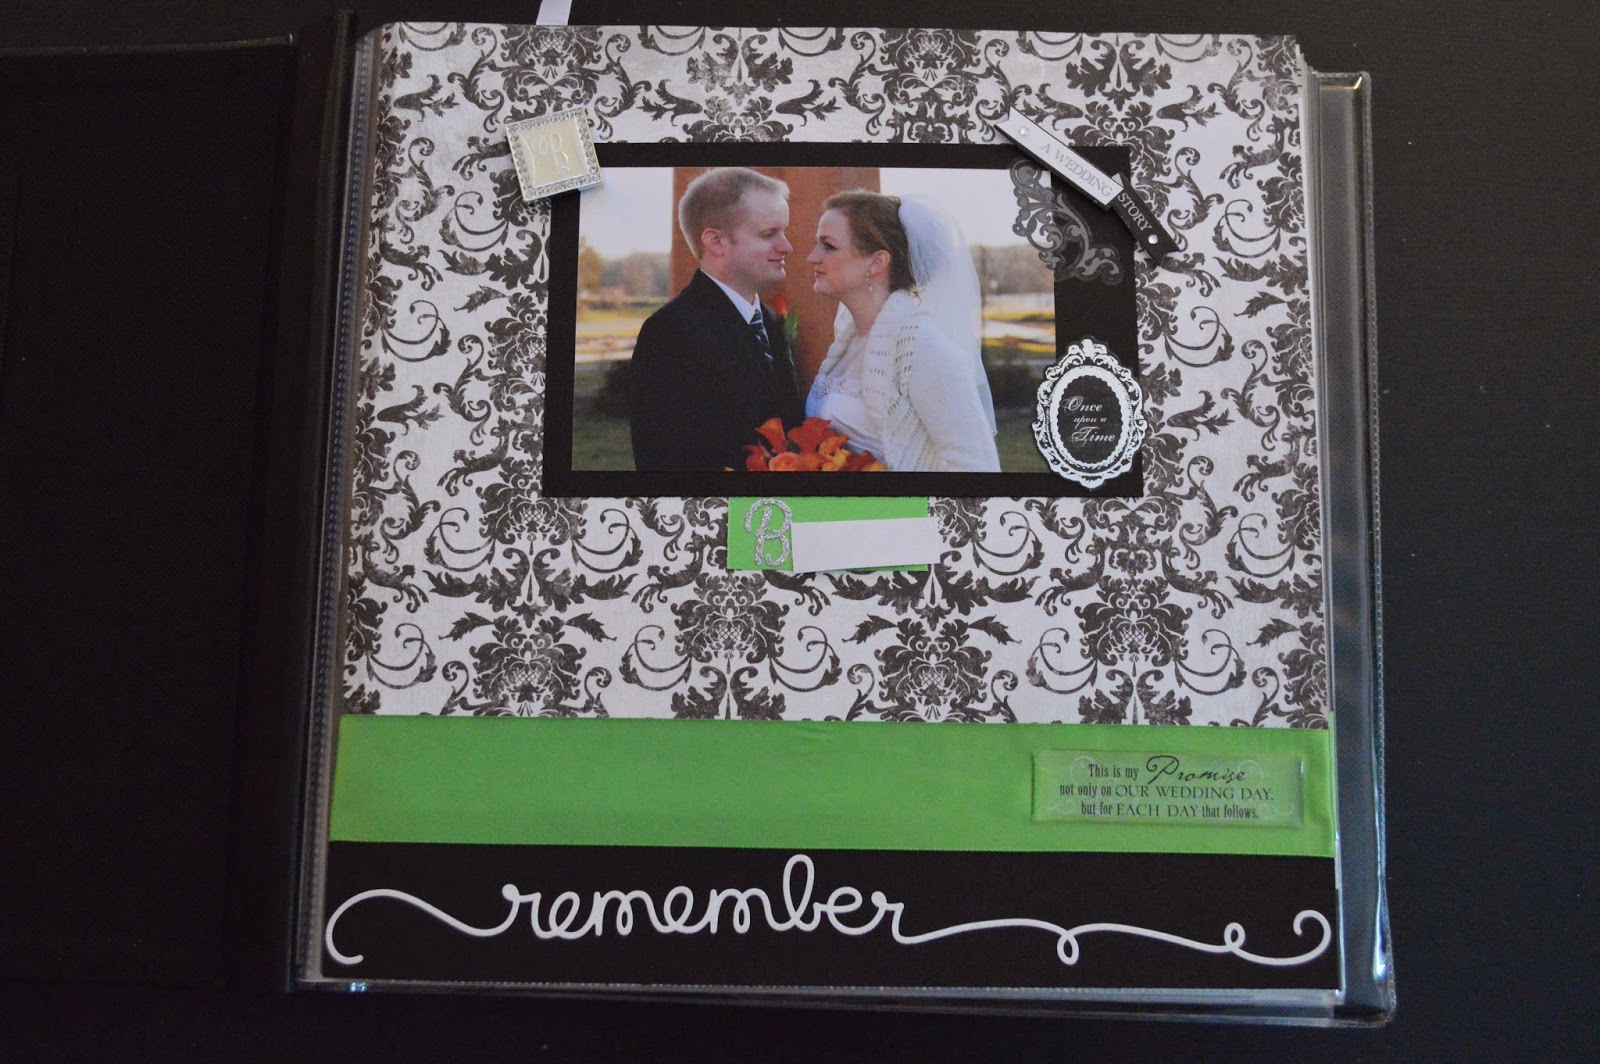
Wedding Scrapbook Album

I did it. I didn't think it would ever be done, but I did it. I completed our wedding scrapbook album!
Just in time for our three year anniversary!

I'm sure it will sit on the shelf collecting dust for a few years, but years from now I know I will be glad I took the time to do this.

I tried to make it pretty much chronological to walk through our special day.
I usually "free-form" scrapbook where I just play with the pictures until they look good. Then I add layers of paper behind the photos, and add stickers/notes/ribbon on top.

Sorry for the insane amount of pictures... It turned out a lot longer than I was expecting! (I also tried to cover up all the personal information.)


Invitations and Save-the-Dates made by SisX.
I had forgotten my veil, so I had to call Dad who came to the rescue and brought it to the hairdresser! 
Bolero was hand-knit by Mom.
Something old: Mom's pearls in my bouquet. Something new: garter hand knit by friend. Something borrowed: Mom's earrings. Something blue: ... none of your business!
Programs also designed by SisX. (Note: standard paper is NOT acid free, so I had to spray all programs and invitations with an acid-free spray, making them archival safe.)
Our Mom's lighting the unity candle. The aisle was so long, FIL (father in law) counted it out to be 82 steps!
AMAZING stained glass windows over 6 stories high. 
Our pastor often writes some articles for the local paper, and just happened to include part of his sermon from our ceremony in an article! 
Dear Husband (DH) composed a song for my birthday when we were dating. He played the same song when he proposed, so we had it played when we lit the unity candle.
The kiss!
Signing, making it legal.
Family photos!
For a January wedding, we had BEAUTIFUL weather in the mid 40's!
One of our first date sites: The Chocolate Cafe.
We also stopped at home to get some pictures with Pete. My childhood dog who I owe everything to, since he made DH a dog person!
FIL brewed three different beers for the downtime before the reception: "Amberaceable You" amber beer, "Rings of Gold" golden ale, and "Stout-Hearted Love" oatmeal stout.
The half-keg was originally tied to FIL and MIL's (Mother in Law) car at their wedding!
Our cake toppers were made by an artist friend. We requested our Chinese zodiac animals! I'm a tiger and DH is a dragon. 
Our song: "Lucky" by Jason Mraz and Colbie Caillat
Father-Daughter and Mother-Son dance.
Dancing the night away... one of the few "oops" of the day is that I had put my maiden name on my place card! 
The guest book (also made by SisX) was decorative pages for people to sign, then put their fingerprint and embellish. (There are six more pages of fingerprints, but covering up the names would cover the entire page!)

Whew! It took me at least three straight months, but I think it was worth it. 
Next up: albums for both my sisters' weddings!