Thursday, August 15, 2013

Pin Board Map


Pin Board Map

As an avid traveler, my dad has always liked maps. I have heard him mention a few times that he would like a wall map that he could put pins in showing the places where he has traveled. The DIY'er in me asked "I could make that, right?" Sure, why not. 
For him it would need to be a world map rather than just the US, but you could always have a US map showing the states/cities traveled to. I found a great one online that had an "antique" look yet had all the up-to-date countries on it, here on this site. Sure, I could just tape it to his office wall with scotch tape, but I was looking to make it a little more classy. A lot of his office furniture has a Cherry Wood finish, so I really wanted it framed. 

One thing: the map was 3ft x 4ft. Frames that size run around $60-$75... not gonna happen. So I needed figure out how to pull all the parts together myself. 
 
1. The Backing: I got some masonite for the backing... the same type of stuff that peg boards are made out of, just without the holes. The nice guys at the local home improvement store cut it to the perfect size for me, so I didn't even need to mess with the scary circular saw! Part one down. 

 
2. Backing part 2: Next problem? Pins won't stick in pegboard material because it is too dense. Hmmm what do pins usually stick into?...cork. I know they make those sheets of cork you can roll out or squares you can stick to the wall, but those are way out of the price range for such a large area. It took me a couple days to think of it, but I finally came up with the solution of foam-core board! It is basically two posters with a thin layer of foam between to make it rigid, all less than a quarter inch thick. Perfect!
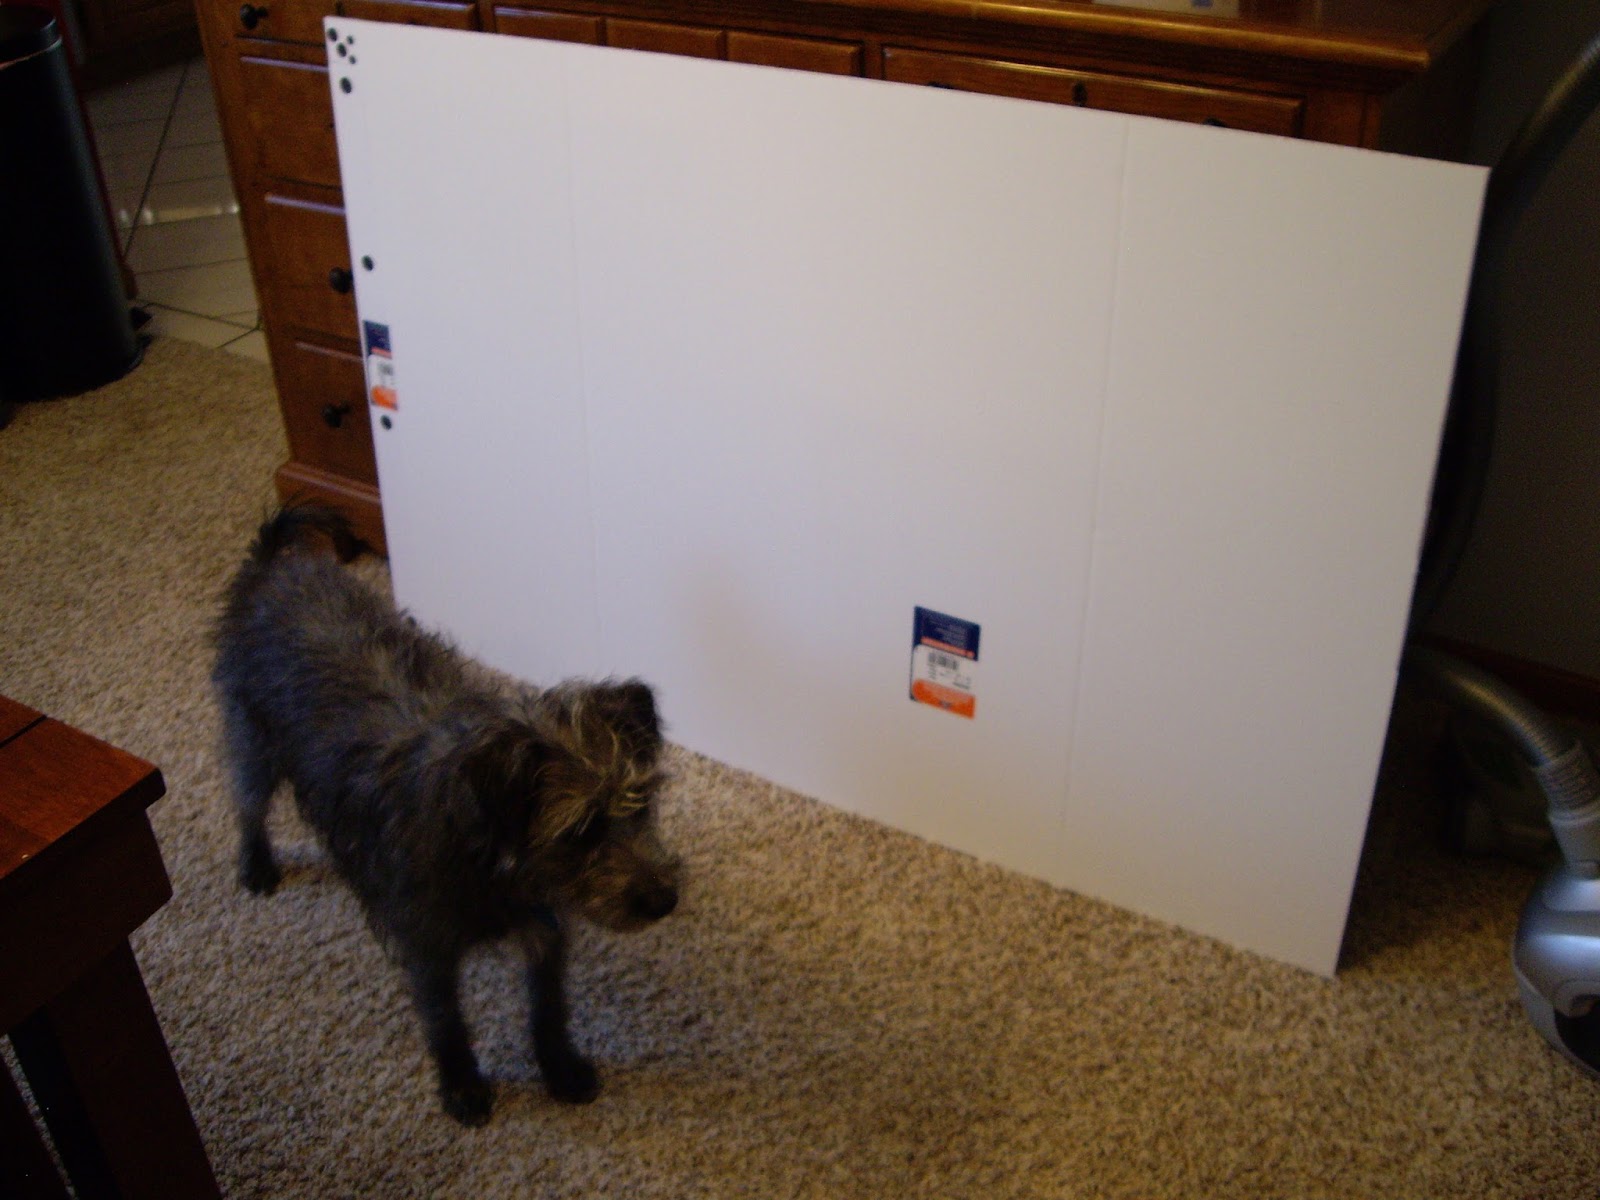

3. Glue map to foamboard: I ended up using a tri-fold board (stereotypically used for middle school science project reports). It was tall enough, but not quite long enough, so I had to get another board and piece it together. Here is Eva to the right, modeling with it. I used rubber cement since it is non-acidic and wouldn't make the map soggy with glue. It ended up having a couple of slight wrinkles in it, but we will call those stylistic. It goes with the old-time map look.


4. Glue foamboard to backing: I used this elmer's spray adhesive which ended up working fantastically! If you spray and stick together while still wet (15 sec or so) it will be permanant. Alternatively, if you wait until it dries tacky you can remove and reposition it... or so the bottle says, I didn't actually try it. 


5. Make frame: I just used flat molding that you would normally place on the wall for a baseboard or a chair rail. Combine that with a miter box, (since I don't have enough room in the garage for a radial arm saw) and you can cut 45 degree angles for a frame. Repeat mantra: measure twice, cut once. With the four pieces in hand, I used these mini right-angle brackets to solidify the frame. Because they are so close to the edge of the molding, I had to (very carefully) drill mini pilot holes so I didn't split the wood. Add some paintable caulk to fill the corners, sand, stain ("Cherry" color), seal (with spray polycrylic) and viola! An empty frame. 

6. Attach frame to map/backing: Please note I had to measure everything and do a lot of math to make sure everything lined up perfectly. I wanted the frame to be glued to the backing but the map had to be evenly centered and have the same amount of space on both the sides and top. In the end it lined up perfect and I used liquid nails (and a caulking gun) to attach the frame. Eva can be seen to the right performing quality assurance.

7. Attach hanger: I picked up these awesome cleats that distribute heavy weight but are still pretty flat so whatever you are hanging doesn't stick out from the wall. The only tricky part is that you have to make sure you mount both parts perfectly level. No crooked maps here! 
 
8. Hang and admire: So this is technically a really, really, really early Christmas (and Father's day and Birthday) present. But I didn't want to wait, and I had room in my car to transport it. So I also brought everything I needed to hang it because I knew it would still be sitting on the floor, leaning against the wall if I didn't. Mom helped match the stain color and decided to do a second coat to make it darker... she was so right. Doesn't it look perfect?!


9. Try to remember all the places you have been and place the pins! Dad got to pinning right away, and here is what his Europe looks like... sheesh! 
 
Finally! Another indoor project complete! 


Friday, July 26, 2013

Outdoor Adventures

First things first... New roof!
When we bought our first house last November - at 22 years old with the original roof - we knew it would need a new one this year.
We finally got it scheduled, they did a great job and did it in just one day! But it wasn't without a few hitches.

I come home at lunch and find them nearly done with ripping the old shingles off.... and a large dent in the driveway.
In all fairness, it wasn't really the roofers fault. They order the shingles from a local company that deliver them to the site on the day of installation.
Evidently that company set the supports for their lift on the driveway instead of the lawn, and with our sandy soil in this area, the blacktop crushed under the weight. Grrrrr. The dent is about a square foot in area and an inch lower at the deepest spot.
At least the roofer gave us the name and number of the shingle company, so we will have to call them up and see what they can do as far as reparations go.

The other casualty? An in-ground sprinkler head. We had one sprinkler that would pop up when the sprinklers go off, but it would "stick" and not go back down unless you tapped it. Well one of the roofer's wheelbarrows must have run it over and broke it off. The roofers were really great and cut an appropriate amount off the bill for repair costs.

Believe it or not, this was a small blessing in disguise because another one of the sprinklers wasn't turning and needed to be replaced. But what did this mean? I had some learning to do about in-ground sprinkler systems.

After a couple days of internet research and a couple trips to the hardware store, I got ready to try my hand at sprinkler repair. It was actually much easier than I expected!

Eva "helping"
1. Dig giant holes in the yard, saving the top sod (and avoiding the cable line that I ran into with the first one)
2. Unscrew the broken ones (make sure not to get any dirt in the pipe)
3. Screw the new one in
4. Fill in the hole, replacing the sod
5. Turn on sprinklers and adjust the angles (this was actually the toughest part by far!)
Eva playing with the neighbor dogs

DH (Dear Husband) was the designated camera man, so there ended up being just as many pictures of Eva as of me... and half of those had my fanny up in the air as I was digging in the dirt!

A few hours and a pair of sopping wet shoes later, we finally have all our sprinkler heads working... Now we are just hoping the crispy, dry lawn can recover!
Eva monitoring quality control


Trying to adjust the spray...


Wednesday, July 24, 2013

Beans, Beans the Magical Fruit!

Ok, I failed again... I still can't grow green beans!
The acorn squash are going crazy
The first time I tried, they were in the nice moist seed starting mix. The soil for seeding has tiny bits of clear gel in it to help keep/hold a consistent moisture level. Evidently that level is too high for beans, since they promptly rotted. Ooops.
Artichokes looking good


So next I tried to plant them in my raised beds. Well, our soil is super sandy here and even though I added some compost, the top layer still dried out a little too much for the bean seeds to sprout. They shriveled up and decomposed. Crud.

Cucumbers climbing
So what do I do? Combine the best of both worlds: I put some of the seed starting medium into a square foot section of my raised bed so there is a 50/50 mix. This was supposed to keep just enough moisture without being too wet. I thought it worked because all but one of the seedlings popped up! But then I went back two days later and they had shriveled again... not quite enough water. Errg!
Aren't 2nd graders supposed to be able to grow beans?! Seriously!

In other garden news, I cheat. Yep, I admit it... I use Smart Gardener, a free online garden planning tool, to help remind me when to do things in the garden. When to seed, when to transplant, when to harvest. It is great! While it isn't 100% accurate, it really does help. This week I was in for a couple surprises:
Almost ready to pick!

Evidently, you have to prune your cucumber plants! Who knew?! I sure didn't know that, and I even grew them last year... yet another example of why I am not yet a true gardener. Anyway, if you are actually interested in how to prune them, this video is pretty good at explaining. After learning that I needed to prune, I headed out to the garden with my shears in tow... It looks like the pruning may be working, since here is the biggest cucumber I have so far! (See left)

The other surprise is that I have to start my brussel-sprout seeds already! I knew they were a cold weather plant and everything, but I wasn't planning on starting them until later when I have room from my finished summer veggies. Hmmm now where do I put them...


Just in case you (mistakenly) think I have it all under control, here is a picture of the "landscaped" beds in the back yard. Why yes, yes those are 7-foot weeds, thanks for asking.
And that dead patch of lawn? Oh yes, DH (Dear Husband) and I found out yesterday one of the underground sprinkler heads isn't rotating so it misses a large portion of the yard.


EWWWWWWW! Just as I was going out to take the pictures of the garden, I noticed something had been munching on my tomato plants. I was just reaching up to prune part of it, when I touched a large green squishy. Ew Ew Ew Ew Ew. I of course squealed like a girl and proceeded to freak out.
After some icky google research on creepy crawly things, turns out they are "tomato hornworms." Gross!
Of course as I was trying to pry them off (jumping around with the ickiness factor) DH captured the moment for his own entertainment purposes.


Here I am (below) scolding him for laughing, waiving the spork and chopsticks I was using to try and pull that creepy crawly off my plant.  Notice how Eva is excitedly watching on intently... or laughing at me too. I can't decide.


They really gripped on and I ended up having to clip the branches off.
Ick Ick Ick Ick Ick.... yeah, totally not a real gardener yet.
Eva just looks entertained.


Tuesday, July 9, 2013

Garden Galore

Goodness, it is so nice to get away for a bit sometimes!

Whenever I try to relax at home, I end up feeling guilty because there is so much more that I "should" be doing. My mind thinks of laundry, cleaning, projects, gardening, etc... and I can't fully relax. Thankfully we traveled up to MIL and FIL (mother-in-law and father-in-law) for the holiday weekend. We even took Eva and she was a trooper for her longest car ride ever! (3.5 hours) Here she is tuckered out in the back seat.
While we were there, the poor puppy got stung/bit by something right under her eye, but she did great and bounced right back. She even let me put ice on it for a little bit!


(Photo Credit: MD, my Sis-in-law)
When we got back I was tuckered out too, but mentally refreshed and ready to pick back up where I left off... but I realized gardens are funny that way.
When you are gone you can count on the house not getting any dirtier, the laundry pile not growing, and projects not getting any more done (or undone! Wouldn't that be funny?!) But the garden? It just keeps on going... it does it's own thing while you are off doing yours.

So I came back and it looked like a completely different garden than when I left! First of all, the garlic was ready to harvest. Woohoo! Not a great yield, but I had them in a spot that was too wet. I think two of them might be bad, but the rest may be salvageable.


We also came home to a surprise gladiolus! I had no idea what they were when we left, because the leaves kind of looked like an iris, but they were too tall and skinny. I think there are a couple more around the house, but we will just have to wait and see what color they end up being.


Another surprise? The hydrangeas! They are funny because depending on the acidity level of your soil, they will turn either pink or blue. We came home to bold blue flowers (and a little bit of purple) lining our front walk. They are so pretty, it is just such a shame that a giant burning bush hides them from the street view.


The tomatoes had taken off and needed some more support. I had just tied them up right before we left! While I was getting rid of the weeds (which had also taken off), I found a mystery "volunteer" tomato plant (see left). You know how I planted the long, long stem of the tomato in my previous post? Well I guess it must have sent out another shoot as well as roots! I still don't know what to do with it... I could leave it, but supporting it could be difficult. Also, I don't know how many tomatoes we can possibly eat!


As long as everything else decided to grow like gang-busters, the hops decided to join in. They have reached the end of their twine, and have started to grow up the side of the house! Note to self: make twine longer next year... It's hard to see, but they are starting to get the little "flowers" on them where the actual brewing hops will be. While they won't be usable this year, it is a good sign that they are doing well and we might get a few to save next year!

The squash is starting to bulk up (left). Before it was a little spindly and I wasn't sure if it was going to make it or not. Thankfully it looks like it is safe since it has some larger leaves.

While the artichokes have recovered thanks to their "fence," it looks like my bunny nemesis has started after the cucumber leaves... definitely need to make more permanent fencing for next year.


So I have been a little embarrassed since I still had not gotten my herbs transplanted. My poor basil is so stunted it only has two leaves, while others are probably a foot tall by now!  I finally got around to refreshing the soil in the giant pots so I could plop them in along with the rest of the herbs (oregano and thyme). See those three tiny little things in the middle of the pot? Yeah, those are supposed to be basil.


Oh, and I still can't grow green beans. I had planted some a couple weeks ago, didn't see any action so I "peeked" on one and it was gone... decomposed into the soil. I think it dried out too much and the next time it rained, it probably turned to mush. So what do I do? I plant some more.... first I had tried them in "seed starting mix": too wet and they rotted. Next in the sandy raised bed soil: too dry, shriveled and decomposed. This time I mixed some "seed starting mix" into the raised bed which should help keep a more consistent moisture level. The one and only vegetable DH (dear husband) actually requested, and I can't grow it for the life of me! Oh the irony.

Friday, June 21, 2013

The First "Fruits" of My Labor

The First "Fruits" of My Labor

I harvested my first crop today! Ok, so maybe it's not considered a crop but I grew it in my own garden and you can eat it. I consider that a success... except I haven't tasted it yet.

What am I talking about? Garlic scapes! Yes, those curly green things are garlic scapes. Basically they are the flower stems of a garlic plant. While that may not sound appetizing, as soon as I clipped the first one off I smelled the wonderful aroma of pure strong garlic. Yum!


I don't think I have ever tried a scape before so what do I do? Head to the internet! Well, send DH (dear husband) to the internet. He found this site which has a "garlic scape pesto" which sounded pretty good. The best part is that you can freeze it for later. That was important because I had already cut the scapes and didn't have many other ingredients on hand. (Oops!)


Recipe: Garlic Scape Pesto

Excerpted From “The Meat Lover’s Meatless Cookbook” by Kim O'Donnel by arrangement with Da Capo Lifelong, a member of the Perseus Books Group. Copyright 2010.

Ingredients

  • 1 cup garlic scapes (8 or 9 scapes), top flowery part removed, cut into 14-inch slices 
  • 13 cup walnuts 
  • 34 cup olive oil
  • 14 to 12 cup grated Parmigiano-Reggiano cheese
  • 12 teaspoon salt, or to taste
  • Ground black pepper

Here’s What to Do

- Place the scapes and walnuts in the bowl of a food processor and whiz until well combined and somewhat smooth. 
- Slowly drizzle in the oil and process until integrated.
- With a rubber spatula, scoop the pesto out of the bowl and into a mixing bowl. 
- Add Parmigiano- Reggiano and salt and pepper to taste.
 - Keeps for up to one week in an airtight container in the refrigerator. 
- Also freezes well; add the cheese after the pesto has thawed.
Makes about 34 cup.


 It's just such a happy green color! I didn't add the walnuts because Mom is allergic. So really I just blended the scapes with olive oil, salt, and a little pepper. When I do thaw it, I will mix in the cheese. If any tomatoes are ready from my garden I may throw those in and eat it like a bruschetta!

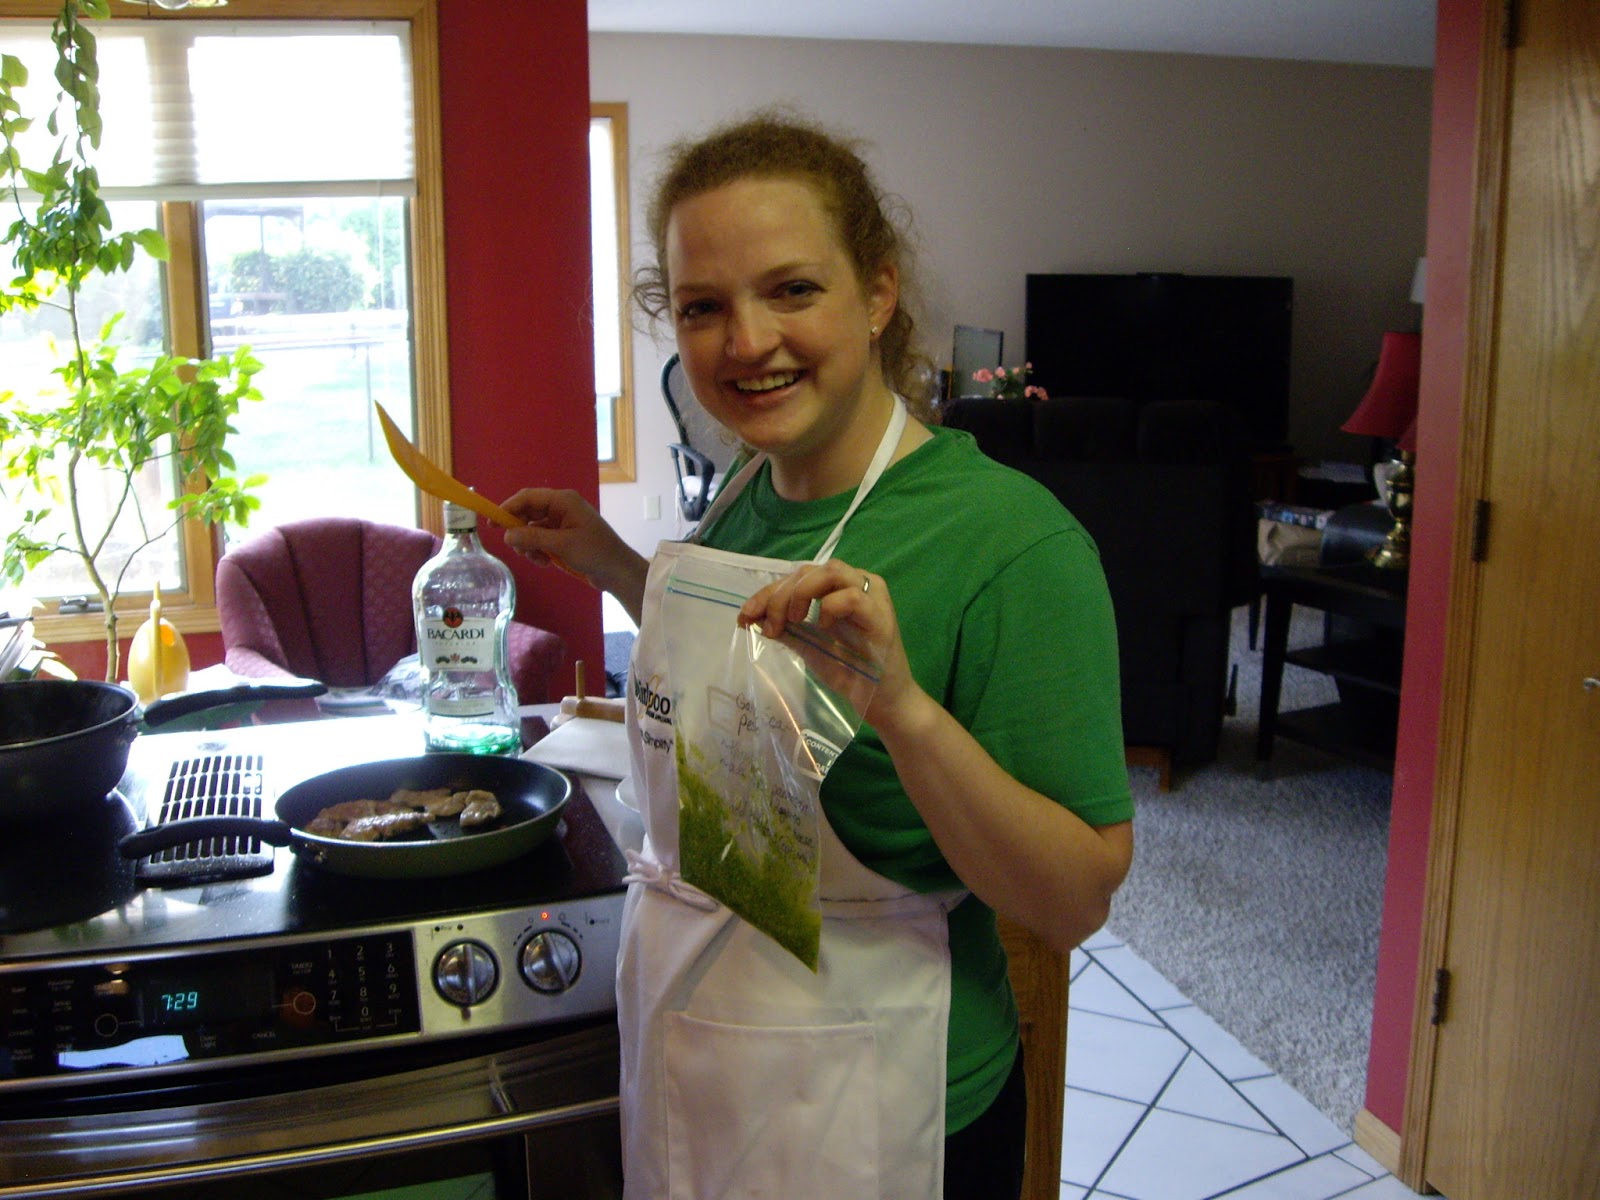
Here I am with the garlic scape pesto in a baggie ready to be frozen!


You may be wondering what else I am cooking there since the pesto isn't heated at all. About a month ago DH and I handmade vegetarian pot-stickers and were able to freeze half of them for later. Well, an empty fridge signaled the need to grab them out of the freezer so I was just frying them up. (Thanks to G.M. my super cooker/baker friend for the recipe!) Yum!


 Since DH made me pose with the pesto, it is only fair that I also post a picture of him. Here he is looking handsome with Eva, attentive as always.

She was sulking a little though because she didn't get to try the pesto. No garlic for puppies! It is toxic to them!