We finally started having enough warm weather and rain that the garden has started taking off.
Unfortunately that also means the weeds are growing like... well, weeds.
The fun part is that I got to harvest all the garlic scapes, even though I have no idea how I want to cook them. (I think I still have some garlic scape pesto in my freezer from last year!)
I also harvested a handful of snow peas for the first time ever. I think I may have picked some a few days too early because they were tender and juicy, but not as sweet as the others.
The hops have grown up their twine, across the deck, and have finally reached the house. It's a good thing we extended the twine this year, as they are not nearly finished growing. They are only starting to put out little flower buds where the hops will be.
We also got Eva a small kiddie pool to cool off in. She likes to stand in it and drink out of it, but doesn't like sitting or laying down in it.
As far as the hard work goes, we finished digging out those stubborn grasses surrounding the deck. The ax I bought really came in handy, but that meant Dear Husband (DH) was sore the next day. Eventually we plan to relocate the Day-lilies and Sweet William from other spots in the yard and surround the deck with those. (Yay zero maintenance gardening!)
But our big project for this summer is clearing out the flowerbed. No problem, right? Except that it is overgrown with mint (nearly 3 feet tall) and some sort of invasive ground-cover. Awesome.
I really should have taken a "before" picture, but you can see how tall and dense the weeds are next to the area we just cleared. First DH chopped down all the weeds as low as possible with the hedge trimmer. 95% of the plants are weeds, but I hand-trimmed around the few good plants that we wanted to keep. (see below).
Just for good measure we sprayed on some Roundup, and then covered the area with cardboard and wet it down. The cardboard (or layers of newspaper) smother the weeds, preventing access to light and air. You wet it down to form a mat, and keep it in place. Ideally you then cover it with mulch, but we didn't have any on hand.
After a couple years the paper breaks down and composts, but by then the weeds and seeds have died. At least that is the plan, we will have to wait and see how well it works!
Just like us, Eva was worn out by the end of the day!
Friday, June 27, 2014
Monday, June 23, 2014
Busy Bees Making... Jam?
A couple weeks ago Dear Husband (DH) and I were blessed with the chance to host his parents and Grandpa H (GPaH) for a fabulous weekend.
We had a fantastic time and did so many things! We ate at a couple of great local restaurants, tried a few beer/wine tastings, checked out the carousel, found a great spot to view Lake Michigan, and were busy bees at home grilling and canning. Whew!
At home, GPaH inspected my garden and I think he approved... (he even says he brags about it!) A few months ago he had sent me some pepper seeds, and I had just planted the seedlings I grew in the raised beds. So far they are surviving, but it hasn't been hot enough for them to thrive.
I didn't take any pictures while we were out, but Mom-in-law (MIL) got some great ones in the fun-house by the carousel.
One of the big activities I planned for the weekend was canning some jam. I have almost zero experience with canning. When I was thirteen I helped my Nana make a fantastic Strawberry Rhubarb jam, but that's all I have ever canned. I have been wanting to make that jam again for a long time, but was never brave enough. That's where GPaH and MIL come in.
Both have more canning experience than me, so MIL lent a much needed extra set of hands while GPaH supervised and offered handy tricks and tips.
The jam turned out really sweet, but really good. Everyone approved of it on the next morning's English muffins!
Easy Strawberry Rhubarb Jam:
- 6 Cups diced rhubarb
- 3 Cups white sugar
- 1 package Strawberry Jell-O (3 oz)
2. Combine rhubarb and sugar. Let sit for at least 3 hours (or overnight). This helps soften and take the water out of the rhubarb, evidently called "macerating." (see right)
3. Bring the rhubarb/sugar to a boil over medium heat.
4. Reduce heat to low, and stir constantly for 12 min.
5. Break down the rhubarb a little bit more with a potato masher. This depends on how chunky you like your jam.
6. Remove from heat and stir in dry gelatin mix.
7. Transfer to hot, sterile canning jars leaving a "head space" of 1/4 inch to 1/2 inch.
8. You can either let them cool and store in the refrigerator, or process them in boiling water for 10-13 min. and store in the pantry. (I processed them so I could gift them.)
Wednesday, June 11, 2014
Ants... Ew!
We had been lucky. In the year an a half we have lived in our house, we haven't really had any major "invasions" from creepy crawly things. An ant here, a spider there of course, but no infestations.
Last year while gardening I ran across a few ant colonies, but they were outside and easily taken care of.
Last night I was cleaning up in the kitchen and just like the past year and a half, I didn't see a thing.
This morning? Tons of little sugar ants all around the sink.
Two days before the in-laws are arriving.
Perfect... just peachy perfect.
So before work I scrambled to throw together some ant bait and left it out. I went back at lunch to check on things, and there must have been three times as many ants. ICK! Don't worry, this is actually what I wanted. Let me explain.
There are worker ants that venture out to find food to bring back for the queen and babies. Then they report back where all the goodies are, and they come in droves. You can spray or put out poison that kills these ants, but you are treating the symptom not the disease: the queen and her colony.
So instead, you give them exactly what they are looking for, sugar! (With a little sinister intention mixed in.)
They live long enough to take the solution back to the nest where the queen/larva get it and they send the "good" news to the other workers where the awesome food stash is. That means more ants get the tainted food, and you have a greater chance of killing the queen and larva.
So what is this sinister sweetness? Borax.
Found in your local grocery store in the laundry soap isle, it has a variety of uses but is known for it's detergent boosting power. (Check out this hilarious classic TV commercial!)
Sinisterly Sweet Ant Bait
- 1 part Borax
- 4 (to 6) parts plain white sugar
- 4 (to 6) parts hot water
- cotton balls
Mix together all ingredients until dissolved. (I use an old LABELED water bottle, and shake to mix. It will keep for up to a few weeks.)
Soak cotton balls with the solution, and place near the ants (out of reach of tiny hands and paws!) I find it easiest to place the cotton balls on a plastic lid that I was going to recycle anyway. That way I can put a little extra liquid bait in the saucer.
Repeat this process every couple days, as the sugar-water will dry and harden. After 2-3 applications (less than a week!) you should hardly see any more ants at all!
After I came home from work, there were already fewer ants (about as many as this morning) but they were moving sluggishly and some were already dead. Yay!
Anytime I see an ant or two I set out a trap just to try and be proactive.
So it's toxic for the ants, does that mean it is poison!? Yes and no... this is a fantastic site explaining what Borax is and isn't. Basically it can irritate the skin in strong solutions and is very bad if large quantities are ingested. So just be safe! Keep it away from pets and kids, and PLEASE remember to label any containers of ant bait!
Friday, June 6, 2014
Back to the books
Not too many people know this, but I am
a (very) amateur Scrapbooker.
The reason you haven't heard about this before, is that I haven't done it in a while. Ok, a really long while.
I could tell you that I have been busy with other projects (which is true) but the real reason, is that I am intimidated. What could put such trepidation in the heart of a "scrapper"? The monstrous task of a Wedding Album! Dun-dun-dunnn!
Over two years ago, I collected all the pictures and memorabilia from our wedding with the full intention of creating a beautiful Wedding Book... and I haven't touched it since. It is the elephant in my craft room.
So in order to get myself back into scrapbooking gear, I signed up for a free class at the craft store. It was less of a formal class, and more just dedicated time (outside of the home) set aside for crafting. Sometimes that is all you need.
Too often, unless I schedule specific time for something, it doesn't happen. Is that just me?
Instead of jumping right into the wedding album, I decided to get my feet wet with a couple pages of Eva. I grabbed some of the cutest photos and here is what I ended up with.
I like them!
This motivated me to start at least organizing the wedding photos, and I got them sorted into groups of before, during, and after the ceremony.
With that momentum I was able to start sorting the scrapbook supplies into categories (stamps, punches, adhesives, holiday stuff, etc.) So while the craft room is still a DISASTER, believe it or not this is much better than what it was!
So, what is the elephant in your craft room?
Wednesday, June 4, 2014
Drip Irrigation
So I know I haven't posted in a while, but preparing for a week-long trip, going on the trip, and then recovering takes some time! Our vacation was fantastic and I took hundreds of pictures!
While I am sorting through the pictures to share (they will be in a future post, don't worry), here is something I did before we left...
I was leaving on vacation for a week, no big deal right? Sure... except for my garden!
Yes, the garlic, shallots, and peas can fend for themselves I'm not worried. But what about the tender new herbs and tomato seedlings?
I had started to acclimate them to the harsh outside environment, slowly increasing their exposure to beating sun and blustering breezes. They could hold their own against the elements except for one thing: water. They were still in their tiny seedling pots that needed to be watered at least every other day. Unless kept moist, they would shrivel and perish. There was no way they could last a week.
So my garden was going to have to fend for itself, and I would have to do everything I could to prepare it. The solution: Drip Irrigation.
Drip irrigation is the process of watering something thoroughly, without wasting water, by delivering drips or trickles of water through narrow tubes directly to the base of the plant.
I ordered parts off of Irrigation Direct's website. It can be a little confusing, but with some research I had figured out what I wanted/needed.
So why didn't I ask a neighbor, we have been there for a year and a half after all! Well, between the fact that we work full time, don't have kids yet, and live in the middle of "be-nice-and-keep-to-yourself-Midwestern-Suburbia," we haven't really connected with any of our neighbors very closely. Don't get me wrong, everyone we have met is really nice... we just don't know each other very well.
Anyway, normally for a drip irrigation system you would install it to your hose and set up a timer, but we already have an in-ground sprinkler system with drip irrigation for the flower beds. Since that is already on a timer, I just plugged a new line into that system! See it to the right, along with Dear Husband's (DH) feet as he is applying fertilizer.
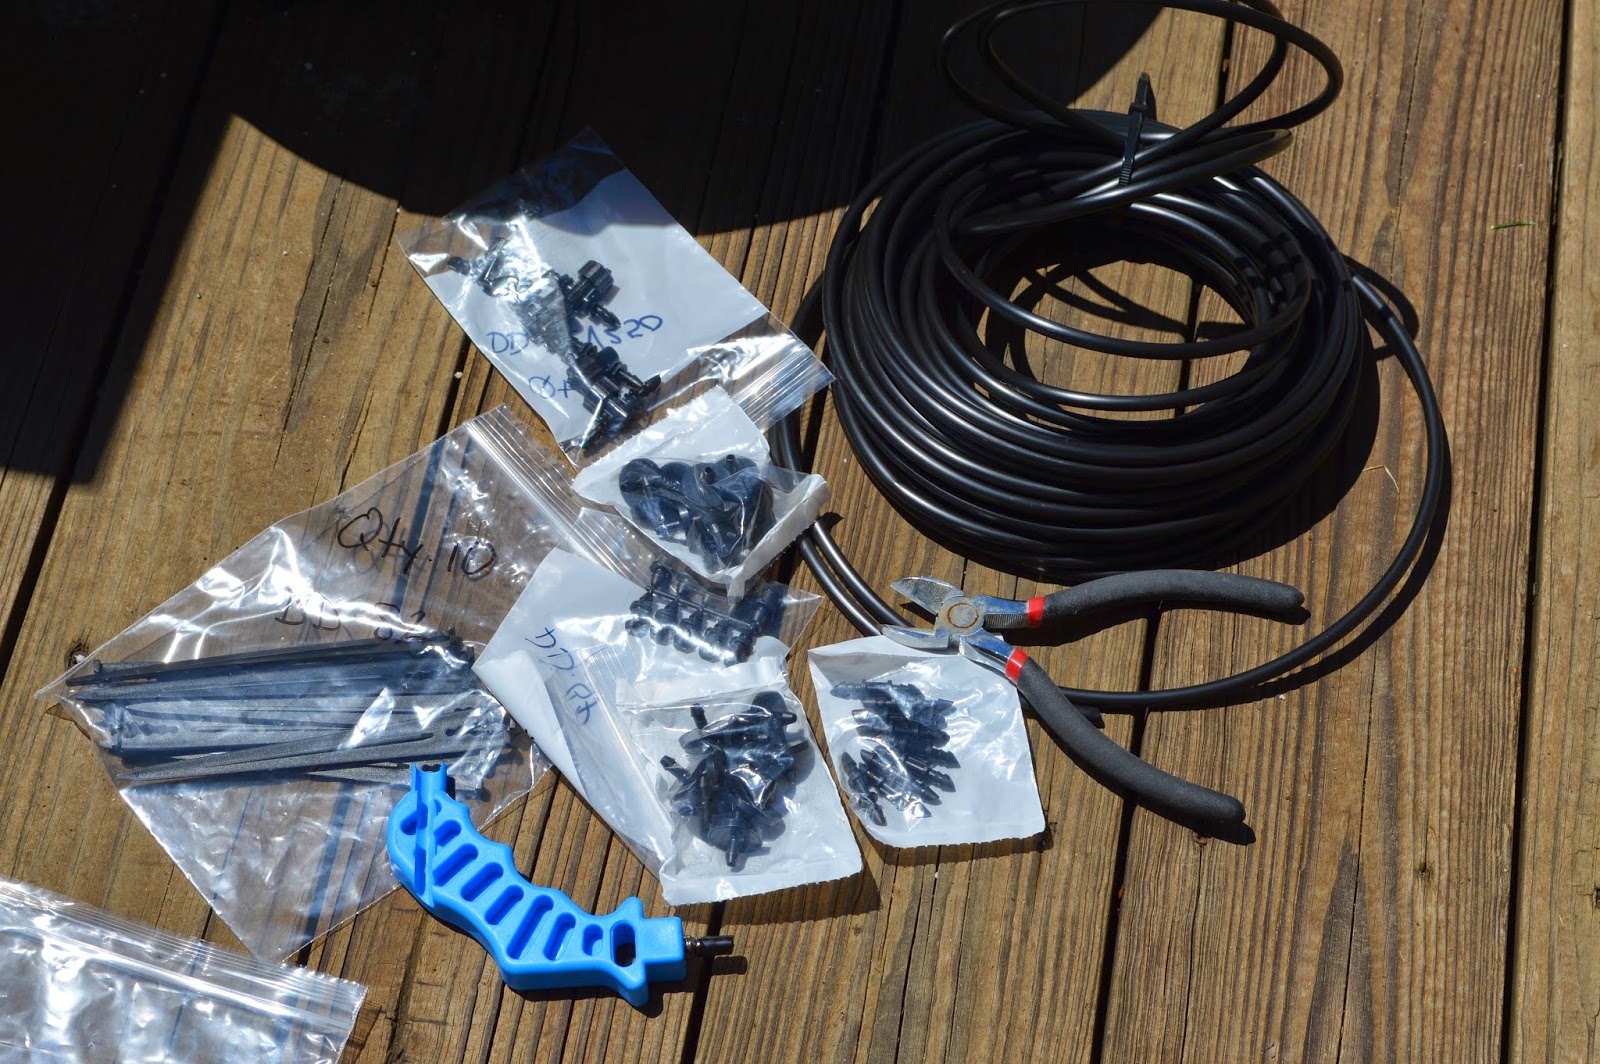
So all I bought/used was some tubing, a flow regulator, drippers (1/2 gallon per hour), and an end cap.
Just loop the tubing around the pots, trying to position the drippers at even-ish spacing. It's not an exact science, I even estimated the number of drippers for each pot. Check out the results before and after some herbs!
Here is some of the Thyme I planted, and one of the drippers in action. I am happy to report that even after a long week, all the plants with decent soil survived! Ok, so some of the plants in itsy bitsy tiny containers didn't have enough soil to keep them moist, but the majority survived.
Whew! On with the gardening season!
Subscribe to:
Posts (Atom)